Here's an easy tutorial on how i use bend modifier to create a Tyre in 3ds max.
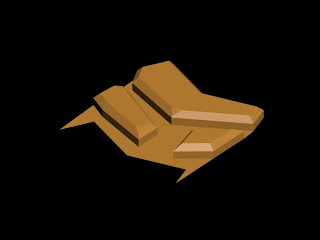
First draw out a the shape of grips. I drew out the outlines of the shape and extrude it. Then edit mesh with chamfer on the edges. You can do any pattern that you like.
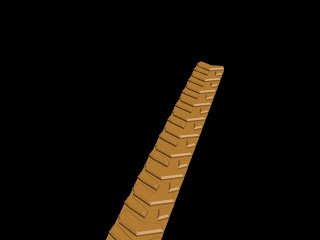 After that copy the shapes for around 15 to 16 times. Make sure all the points are connected. You can use the bridge modifier in poly edit to join the shapes. then weld all those shapes together.(if you guys have problem welding it, just group them together.) You can mirror it on the other side to get a symmetrical form. And now, the fun part and almost the end of the tutorial- told you its easy.
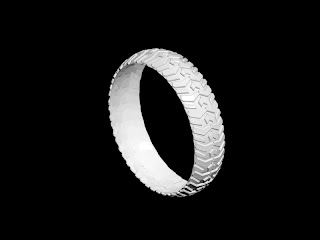 Go to the modifier panel and select bend. Change the direction value to 90 and angle to 366. Try to play around the value to get a better understanding of what it does. You can change the bend axis to curve it in different axis and angles. To close up the sides, use FFD 4X4 or 5X5 to scale down the sides.
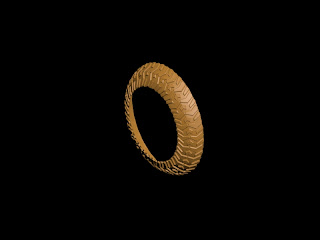 You can also do something like this..
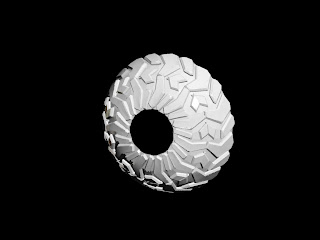 or this...
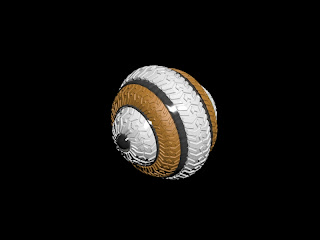
well..i ended up with something like this
 after rendering some photoshop matte painting..this is what i got. Not quite that detail yet. Still working on the detailing.
 Hope you guys learned something from it! Cheers.
Nice post
ReplyDelete