Created these planets for the tutorial ealier.


 After some patching and color burns, this is what i got. Go to Edit and select Define Pattern


 You should be able to get something like this...
 Now...create a new layer and name it shadow. Place the layer on top of atmosphere. Now, again with the magic wand technique but this time set the Tolerance to 50...marque the circular area and fill it up with black color. You will then get something like this.
 Last but not least...turn on your Planet Ground and place it in between your Atmosphere and Shadows layer. Then set it to screen. Wahlah..you're almost there!
 well, you can add in some of the details such as clouds or touch up the shadow layers. Play around with it and spend some time testing with multiple layers to create different atmosphere on the planet. i added in a bit of clouds and another layer of earth just to detail it a little bit more. Here's the final image. Enjoy!

 After that copy the shapes for around 15 to 16 times. Make sure all the points are connected. You can use the bridge modifier in poly edit to join the shapes. then weld all those shapes together.(if you guys have problem welding it, just group them together.) You can mirror it on the other side to get a symmetrical form. And now, the fun part and almost the end of the tutorial- told you its easy.
 Go to the modifier panel and select bend. Change the direction value to 90 and angle to 366. Try to play around the value to get a better understanding of what it does. You can change the bend axis to curve it in different axis and angles. To close up the sides, use FFD 4X4 or 5X5 to scale down the sides.
 You can also do something like this..
 or this...
 after rendering some photoshop matte painting..this is what i got. Not quite that detail yet. Still working on the detailing.
 Hope you guys learned something from it! Cheers.

 Design Intention
 The modeling and rendering was done in 3ds max 2010 with mental ray photometric lightings. In the matte painting i added in the smokey skies done in seperate layers, a broken window in the foreground and some details such as shoes hanging on the wires, crows and black feathers creating a dramatic scene. The idea was to create a dim of light in darkness. Where one can find hope when all else has died. Below are the images that you may need to create a similar scene.


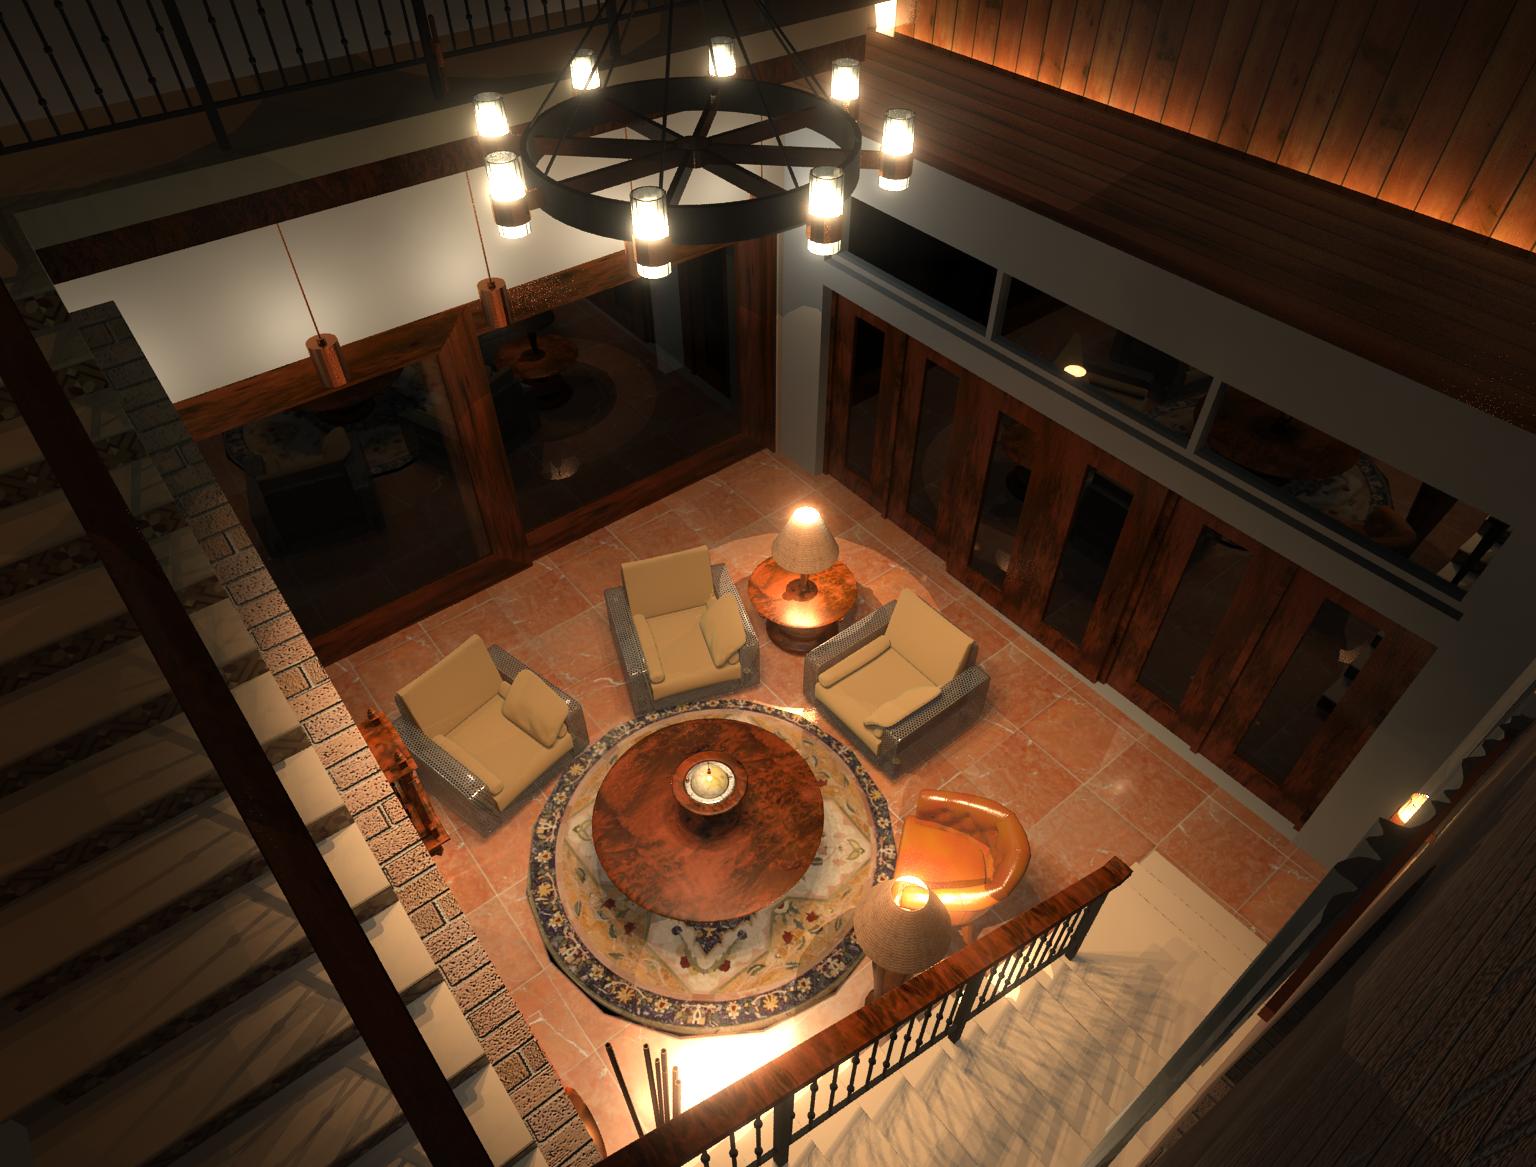
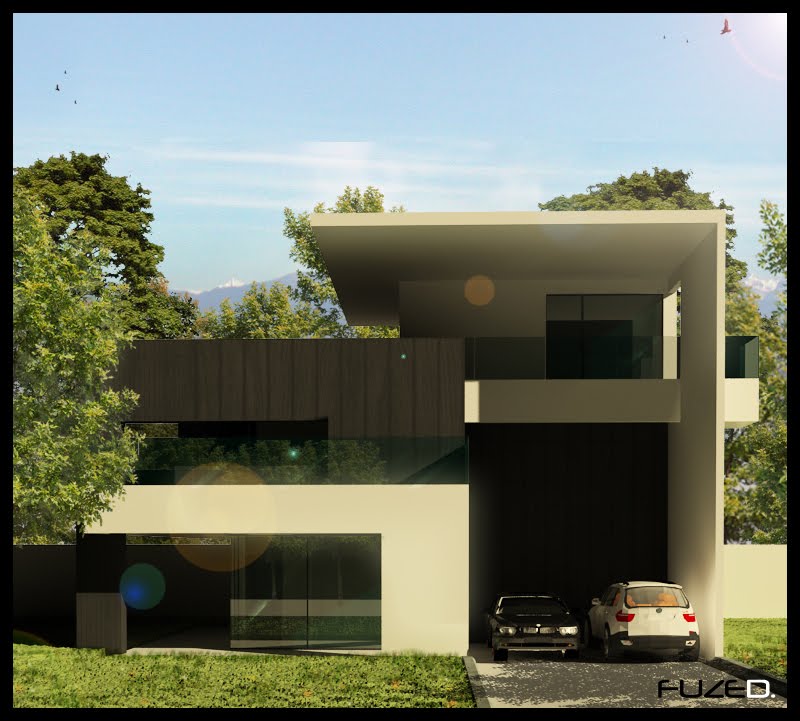 and another option done in minimalism with clean cuts and pure forms.
colored+pencil.jpg) the Spine
the Spine


 My motherboard was fried the other day and so was my vray for 3dsmax 9. So i have to learn how to render with mental ray 2010. Here's a simple robot that i created just for fun and tutorial. Turns out that 3dsmax 2010 takes up a lot of ram. Upgraded my workstation for quad core with 4gbs rams but still not enough. The graphic is a bit off because im currently using a NVIDIA graphic card (i know..i need a better graphic card). Check out some of the tutorials to learn more about lighting and modeling in 3dsmax.